Explore the Web interface
Welcome to B2BINPAY!
In this article, you’ll learn basic elements and main controls available throughout the Web UI.
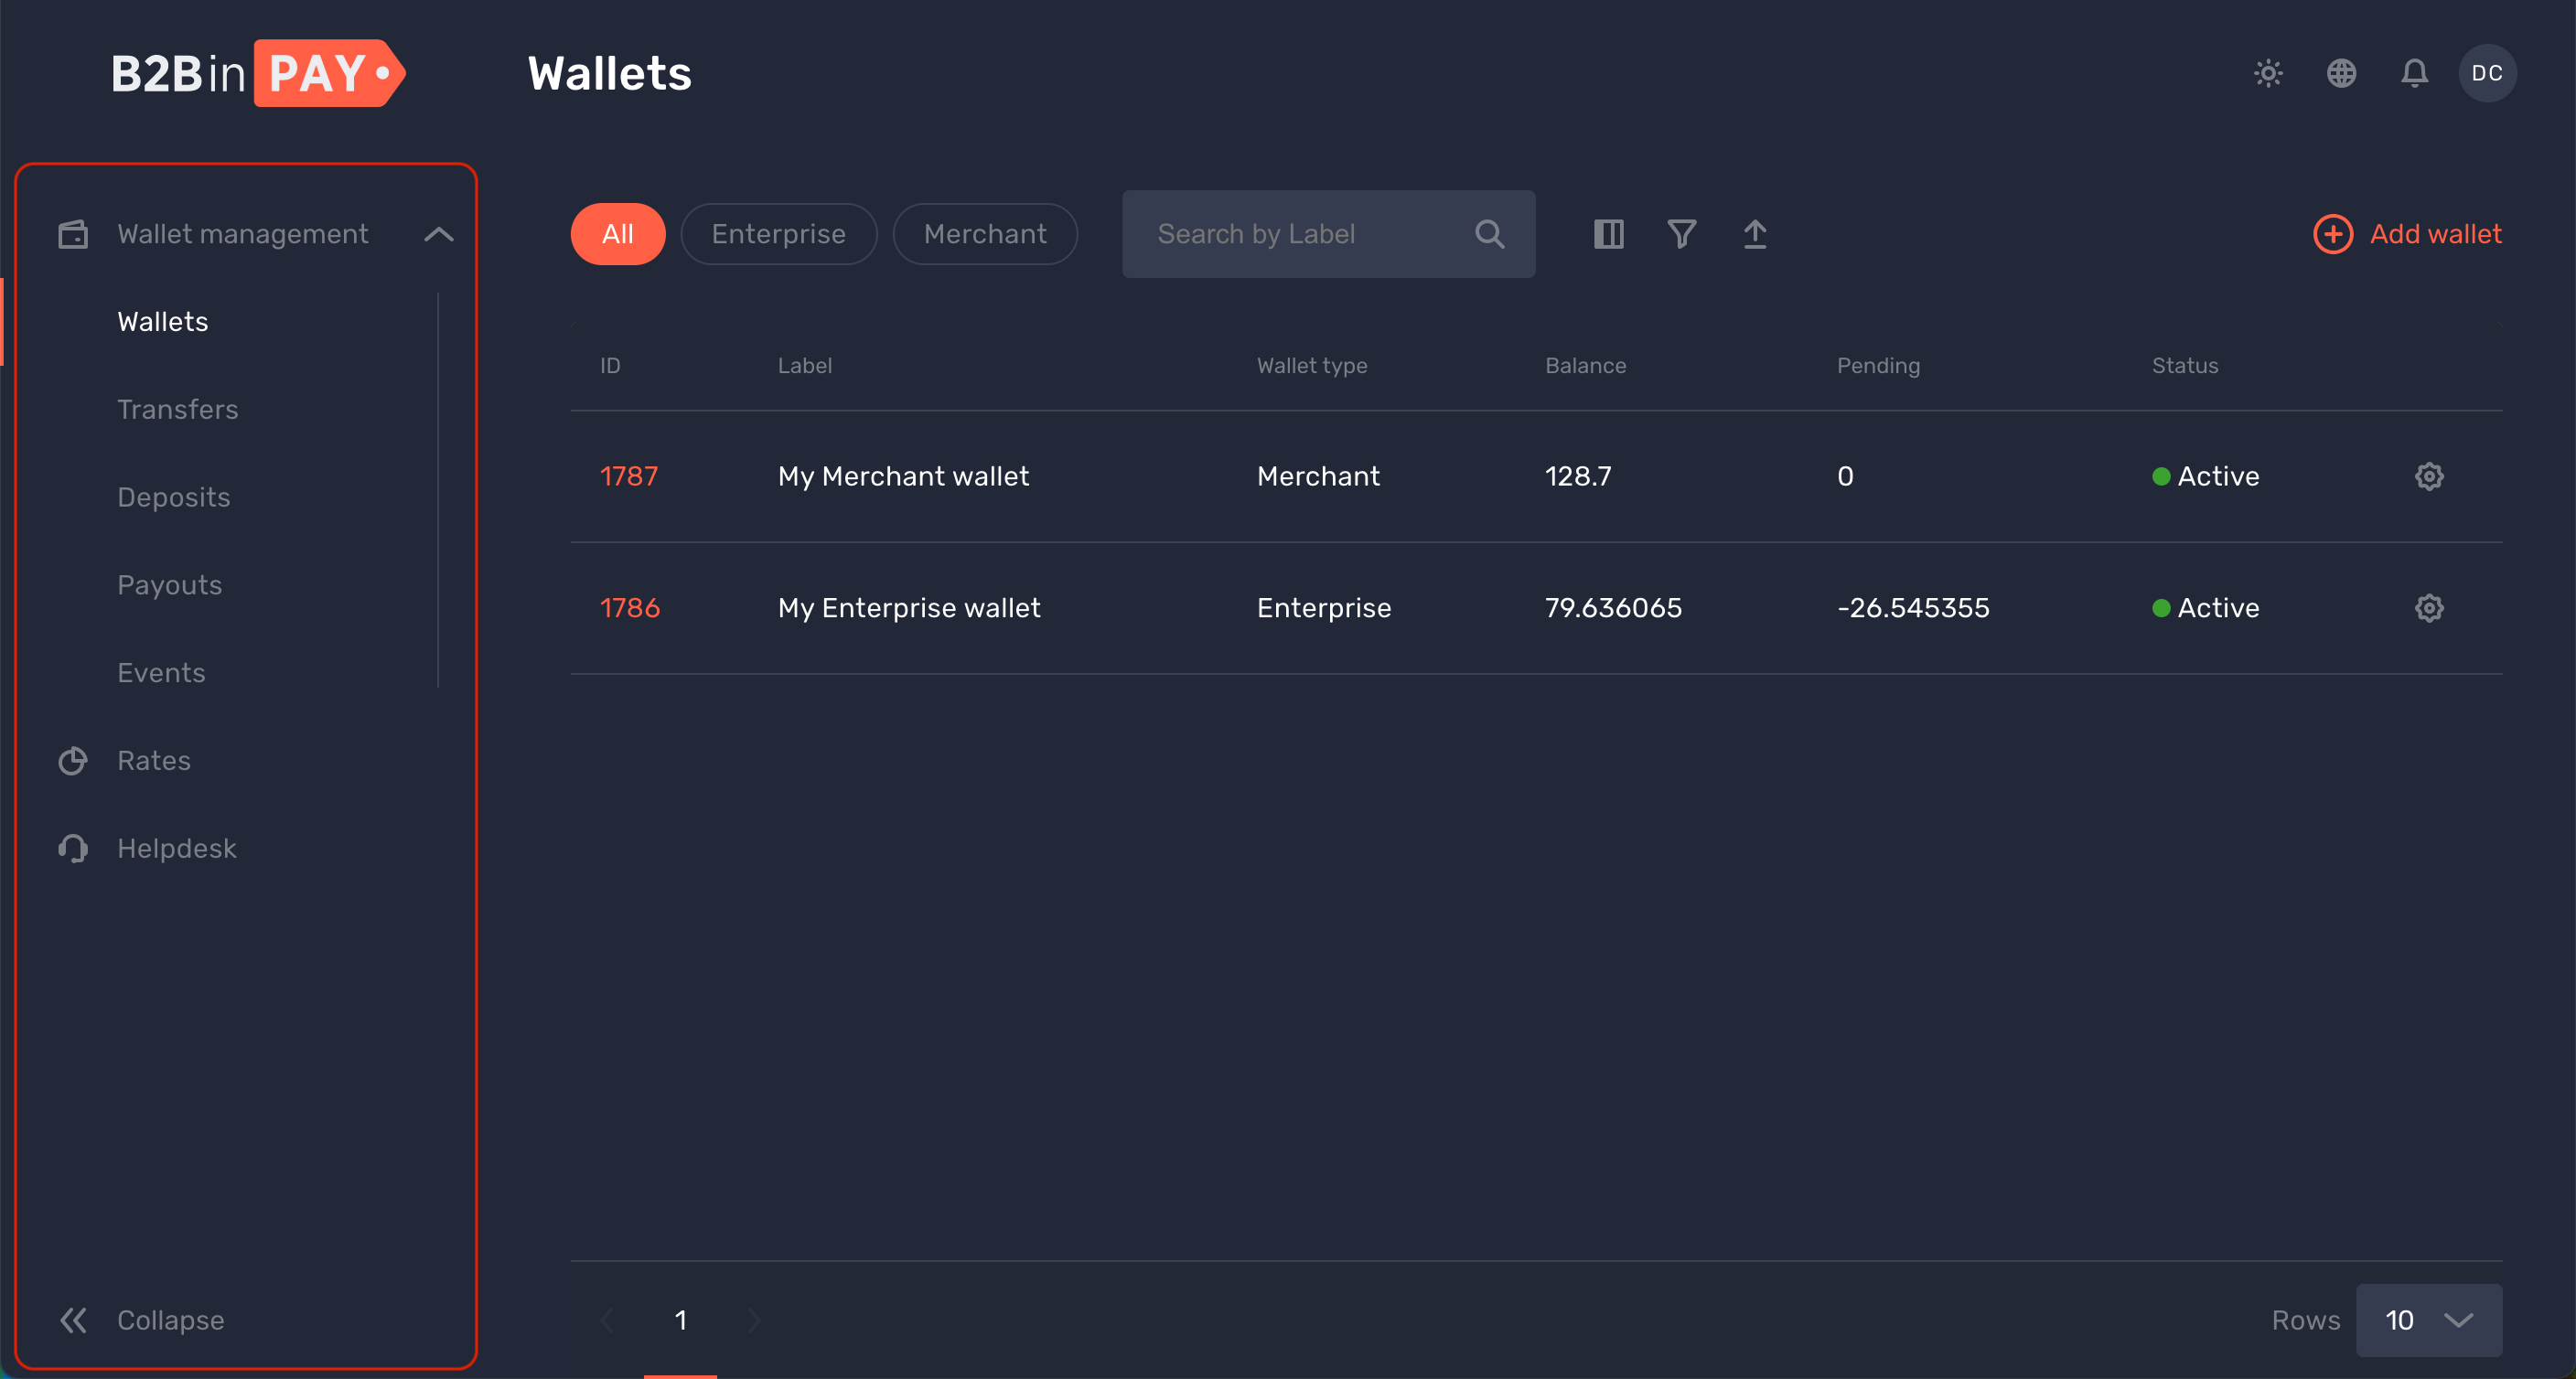
Main menu
Use the main menu displayed on the left to navigate across platform pages and access the Helpdesk.
Use the Collapse/Expand button to adjust the main menu display.
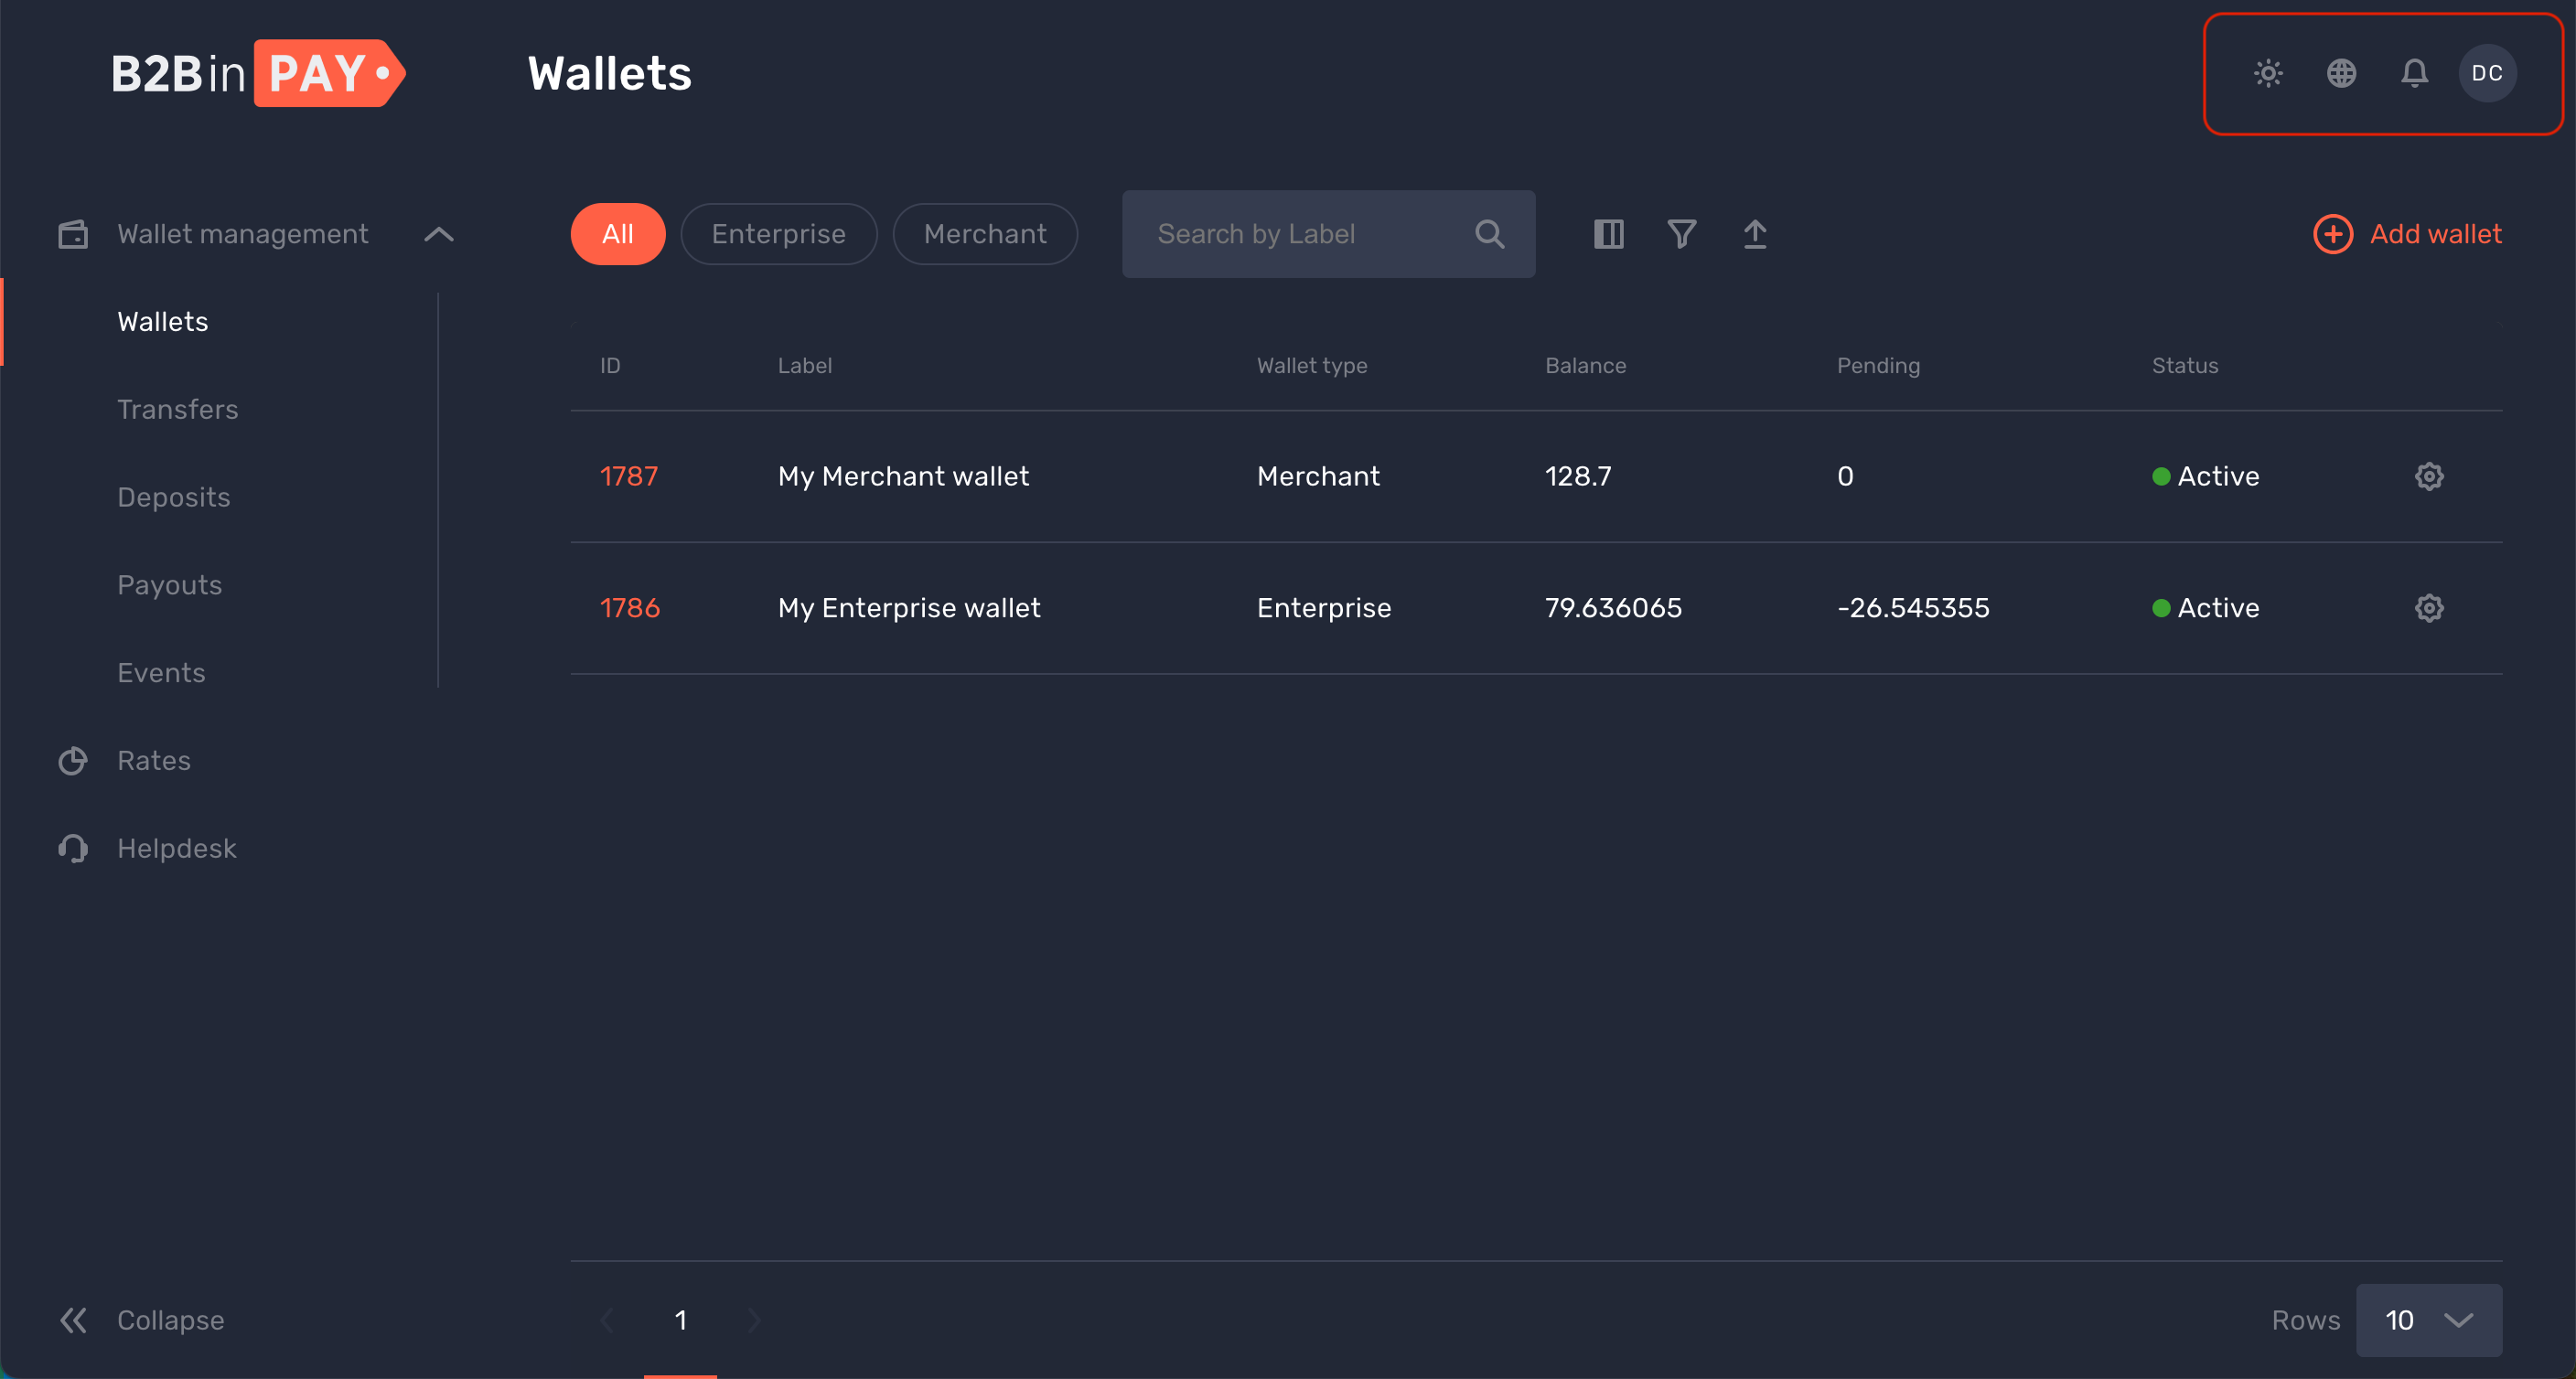
Topbar options
In the upper part of the page, you can see a topbar that provides access to the following functions:
the Dark/Light theme switch — to adjust the B2BINPAY Web UI to your preferences.
the Language dropdown — to select a preferred language for the B2BINPAY Web UI.
the Notifications page — to view and manage system notifications.
the user profile icon — to access the Profile menu (see below).
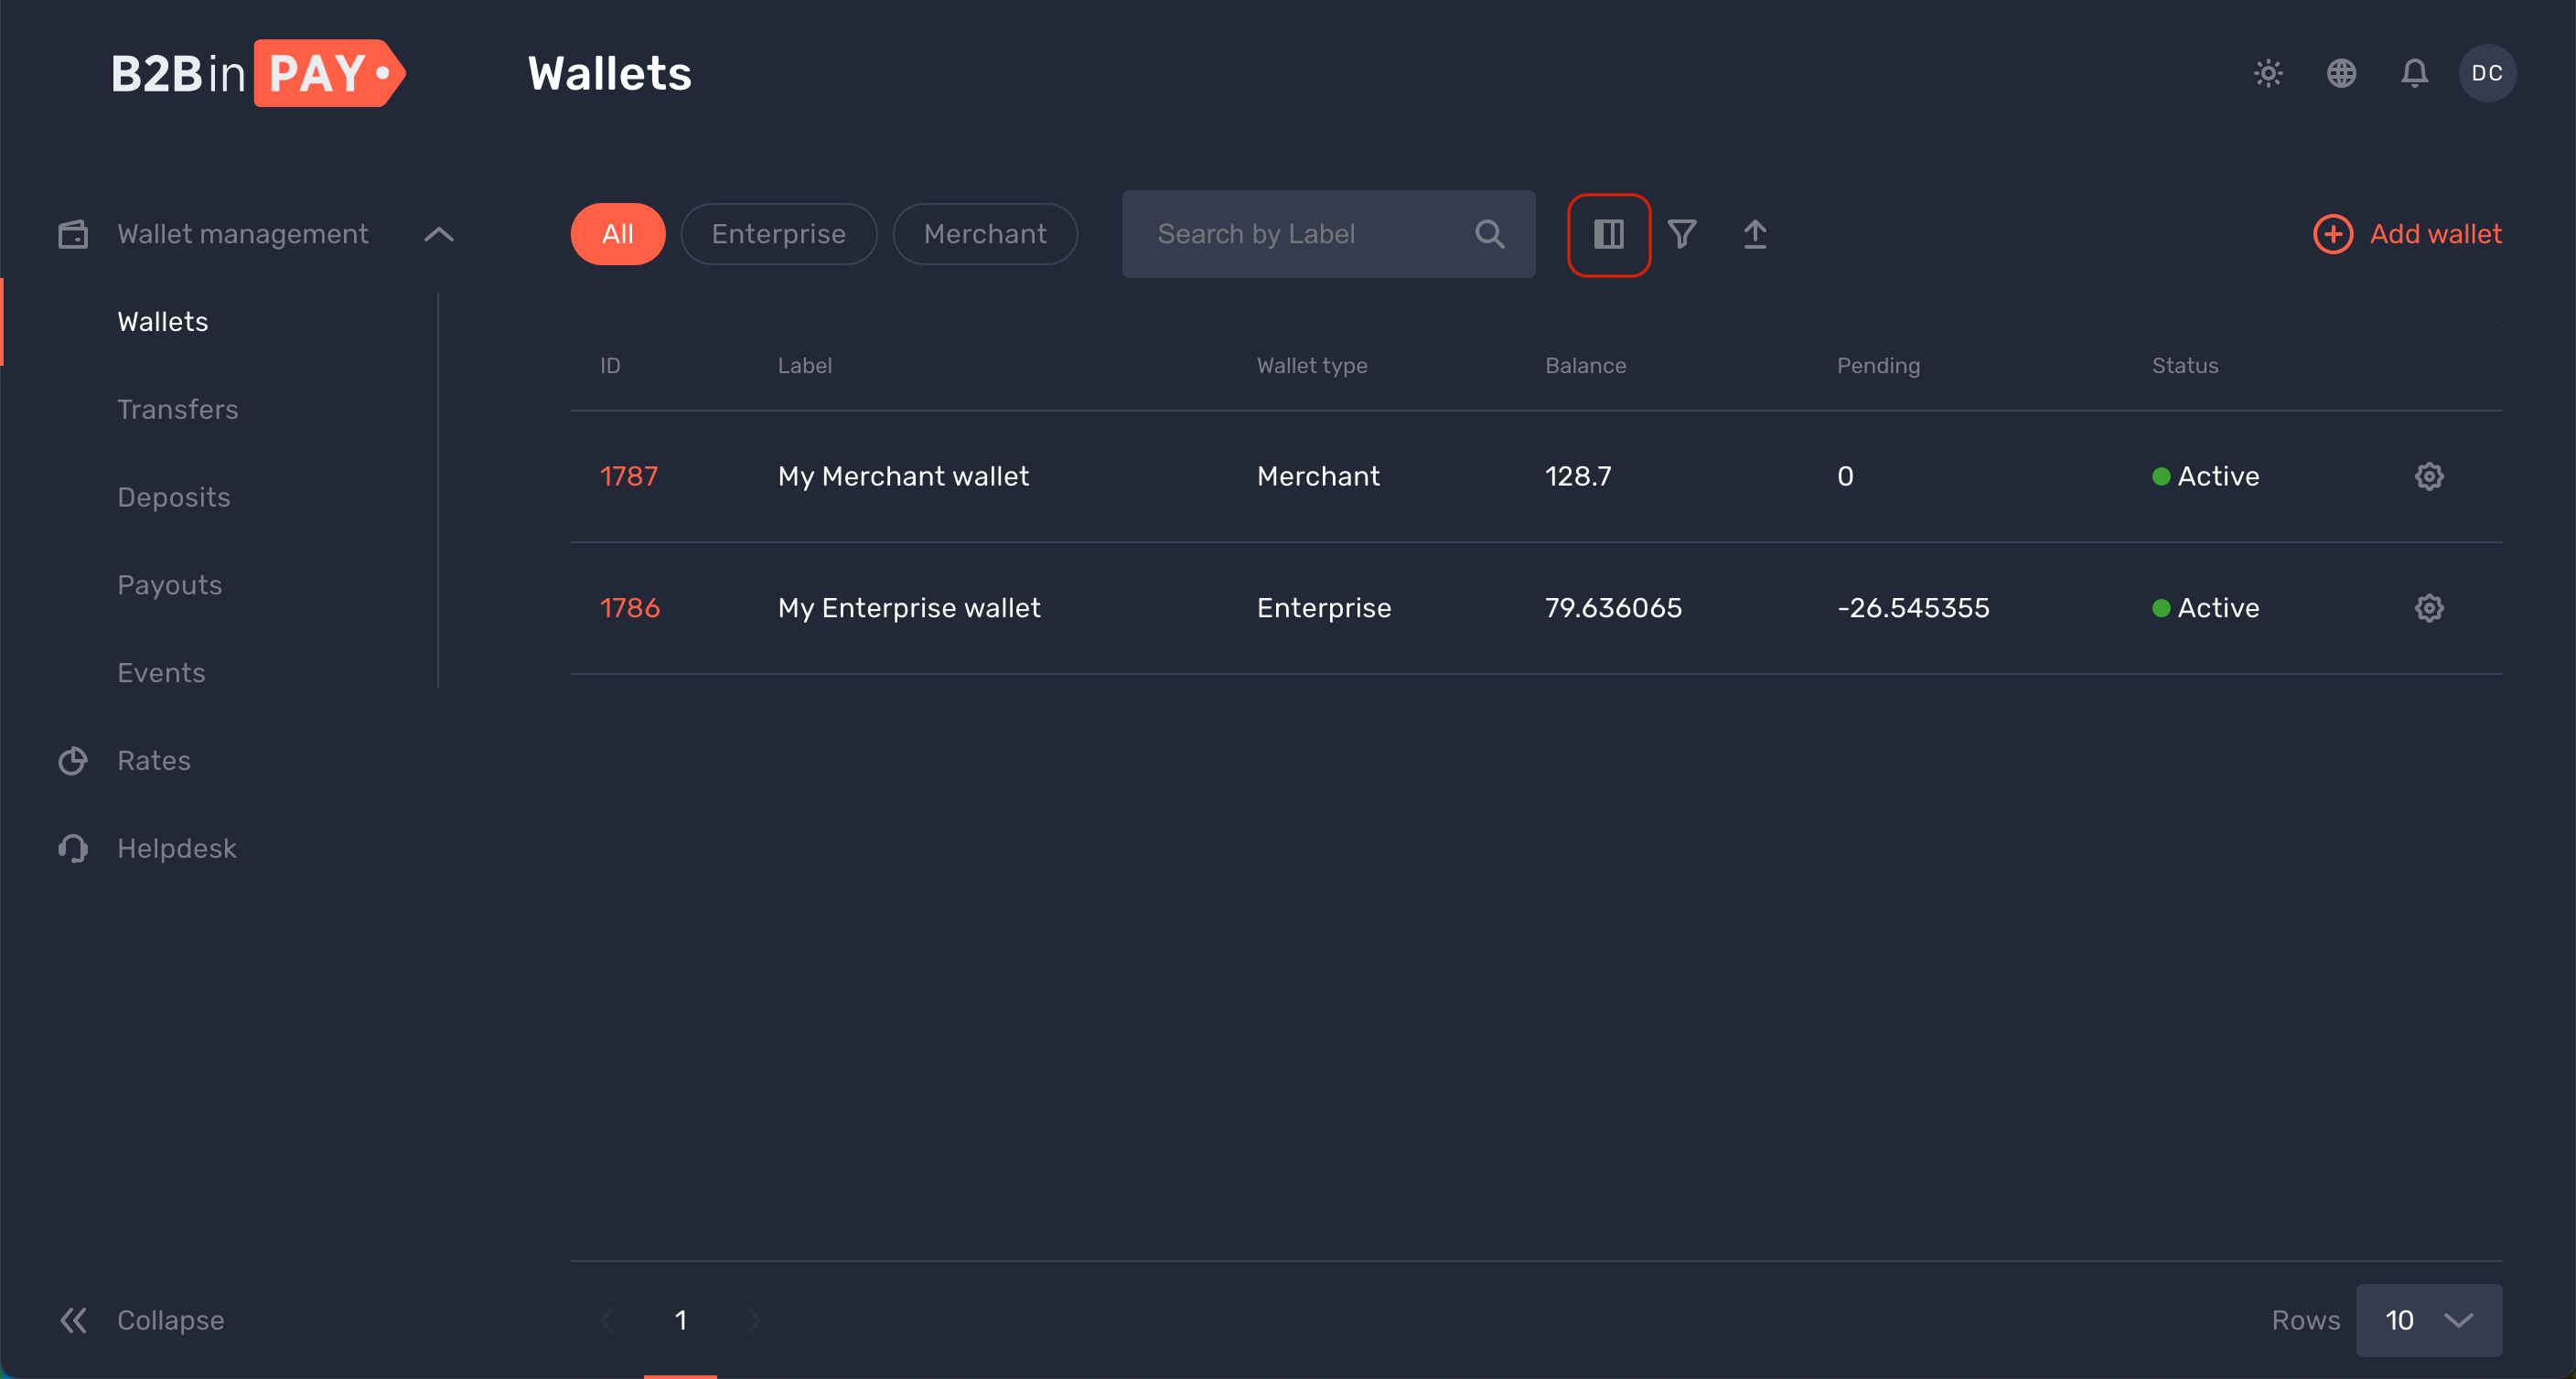
Configuring columns
Information on most pages and tabs is presented in tables and you can configure columns to display.
If a display setting is available for a given page, you may see the Configure columns button above the table. Click it to display the column list:
Mark or unmark column checkboxes to display or hide them; the column checkboxes highlighted in grey can’t be disabled.
Drag and drop the columns to adjust their order in the table.
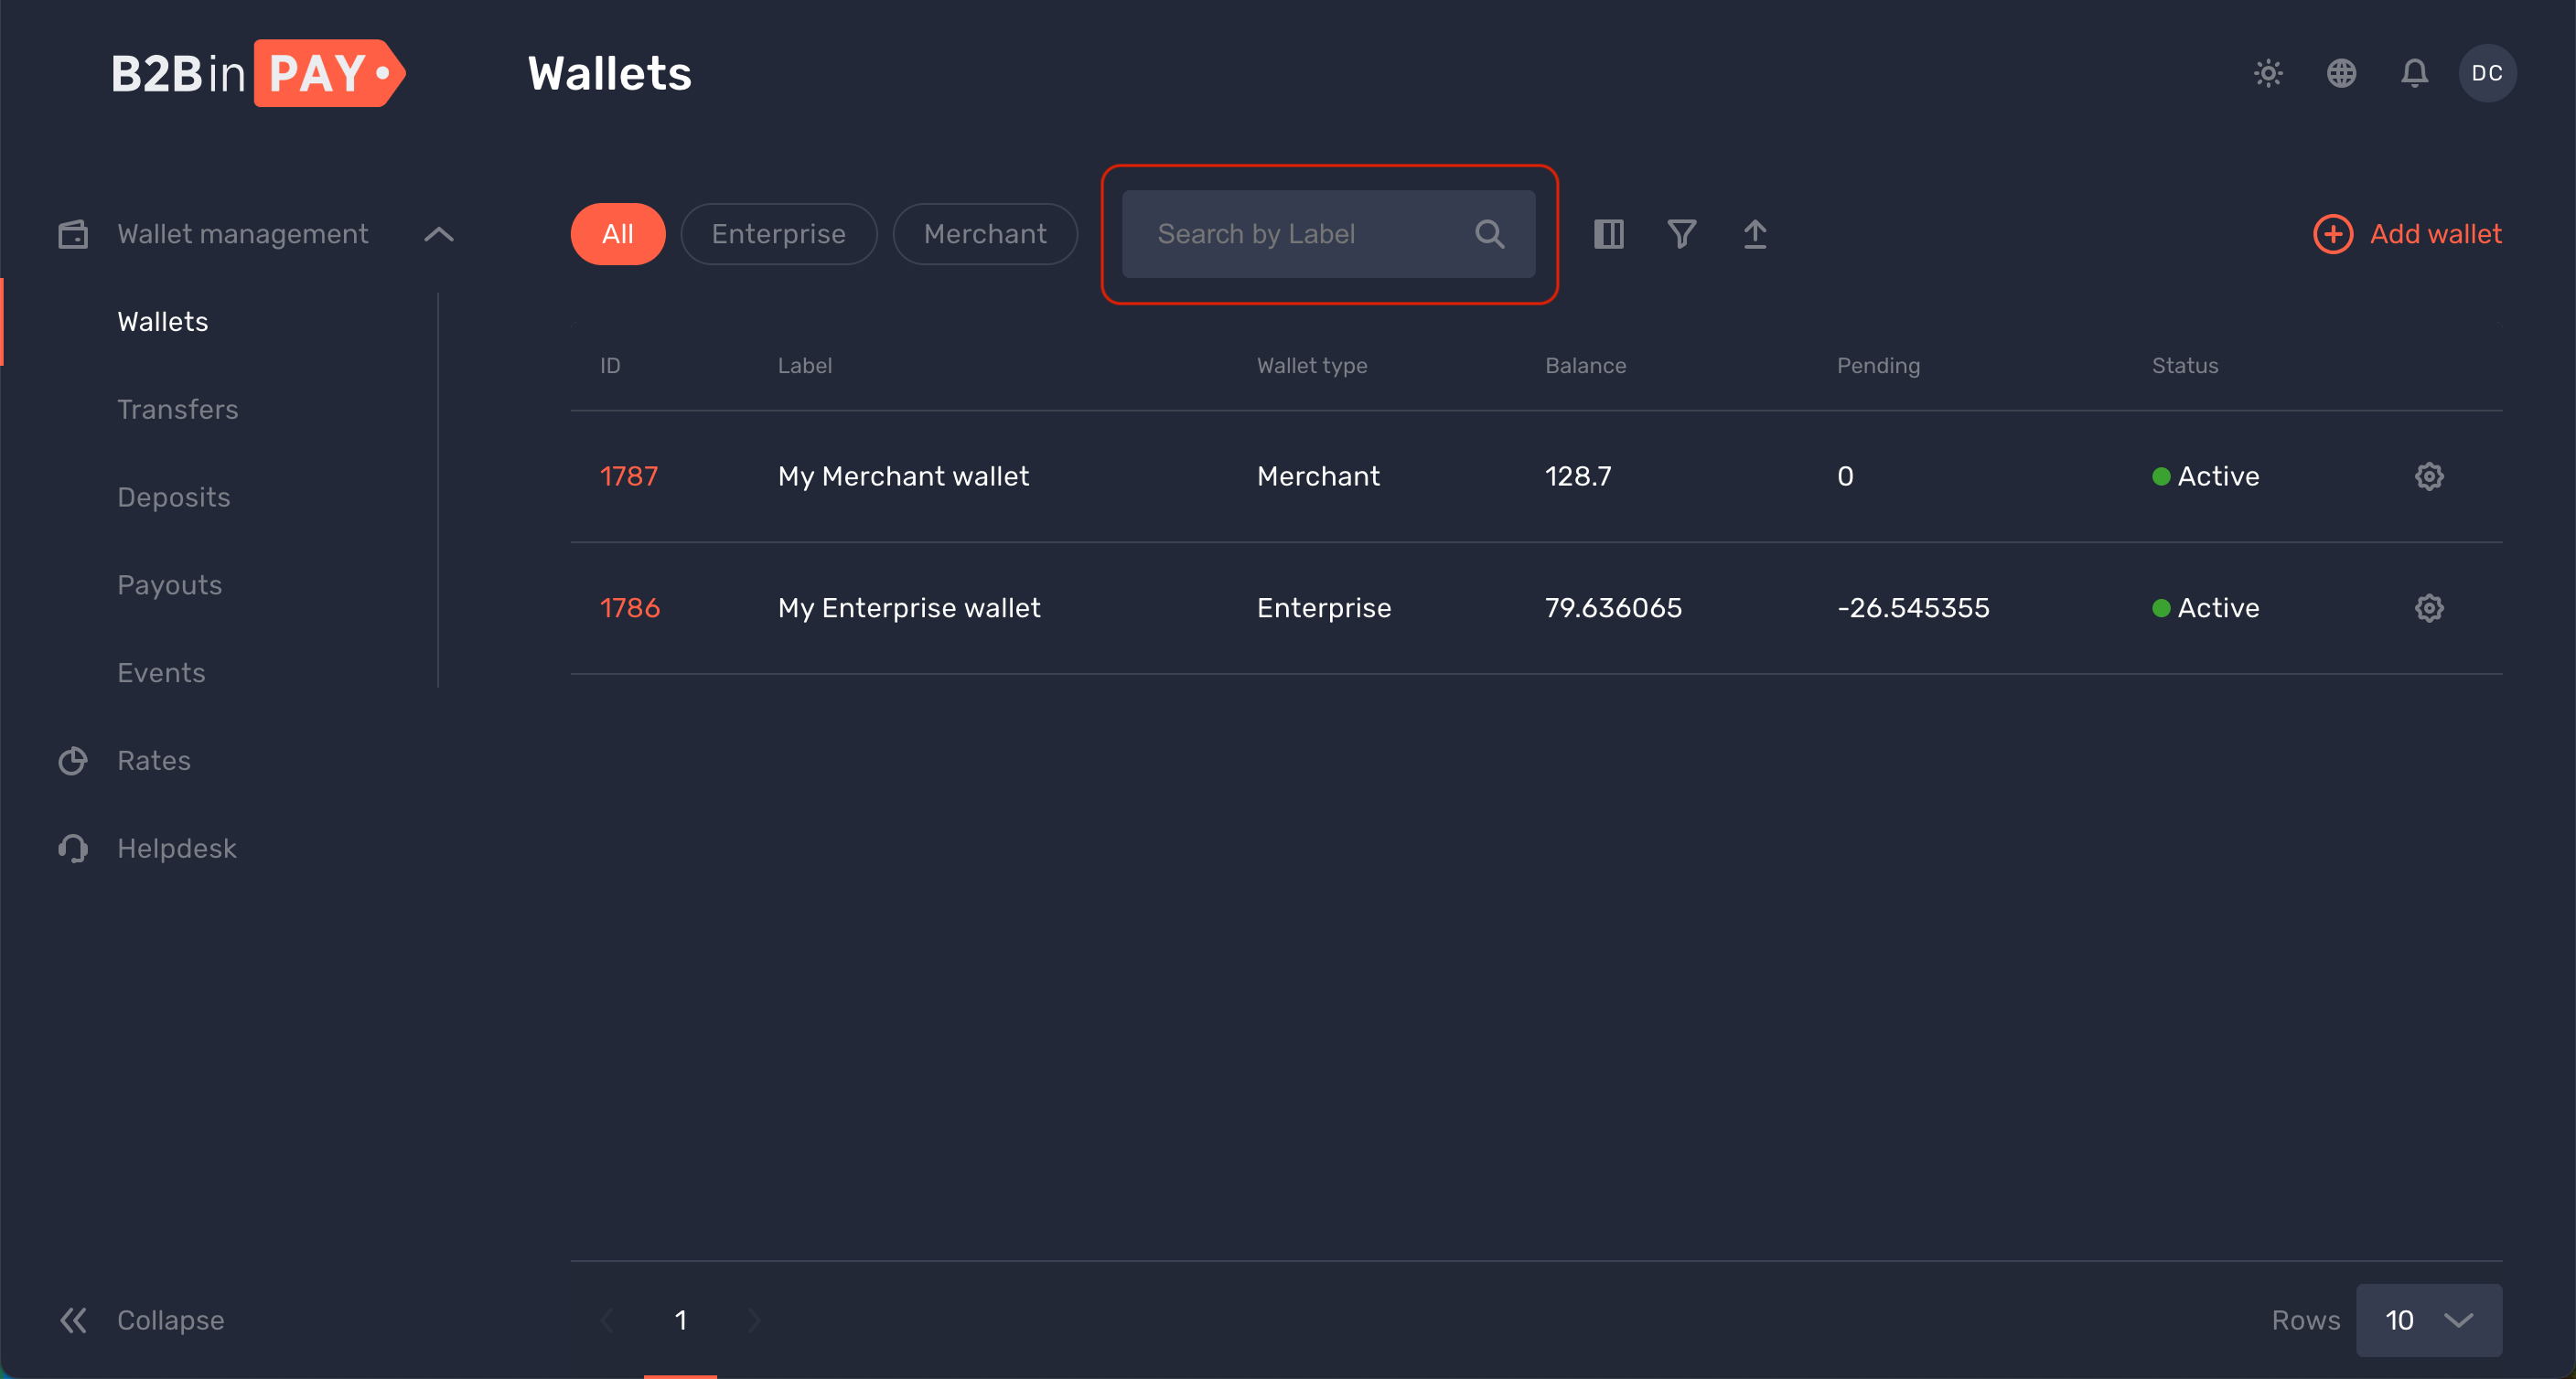
Quick search
On some pages, you can perform a quick search by a certain parameter, such as wallet label or currency.
To perform the quick search, start typing a desired value in the quick search field displayed above the table. Only the records containing the entered value are displayed on the page.
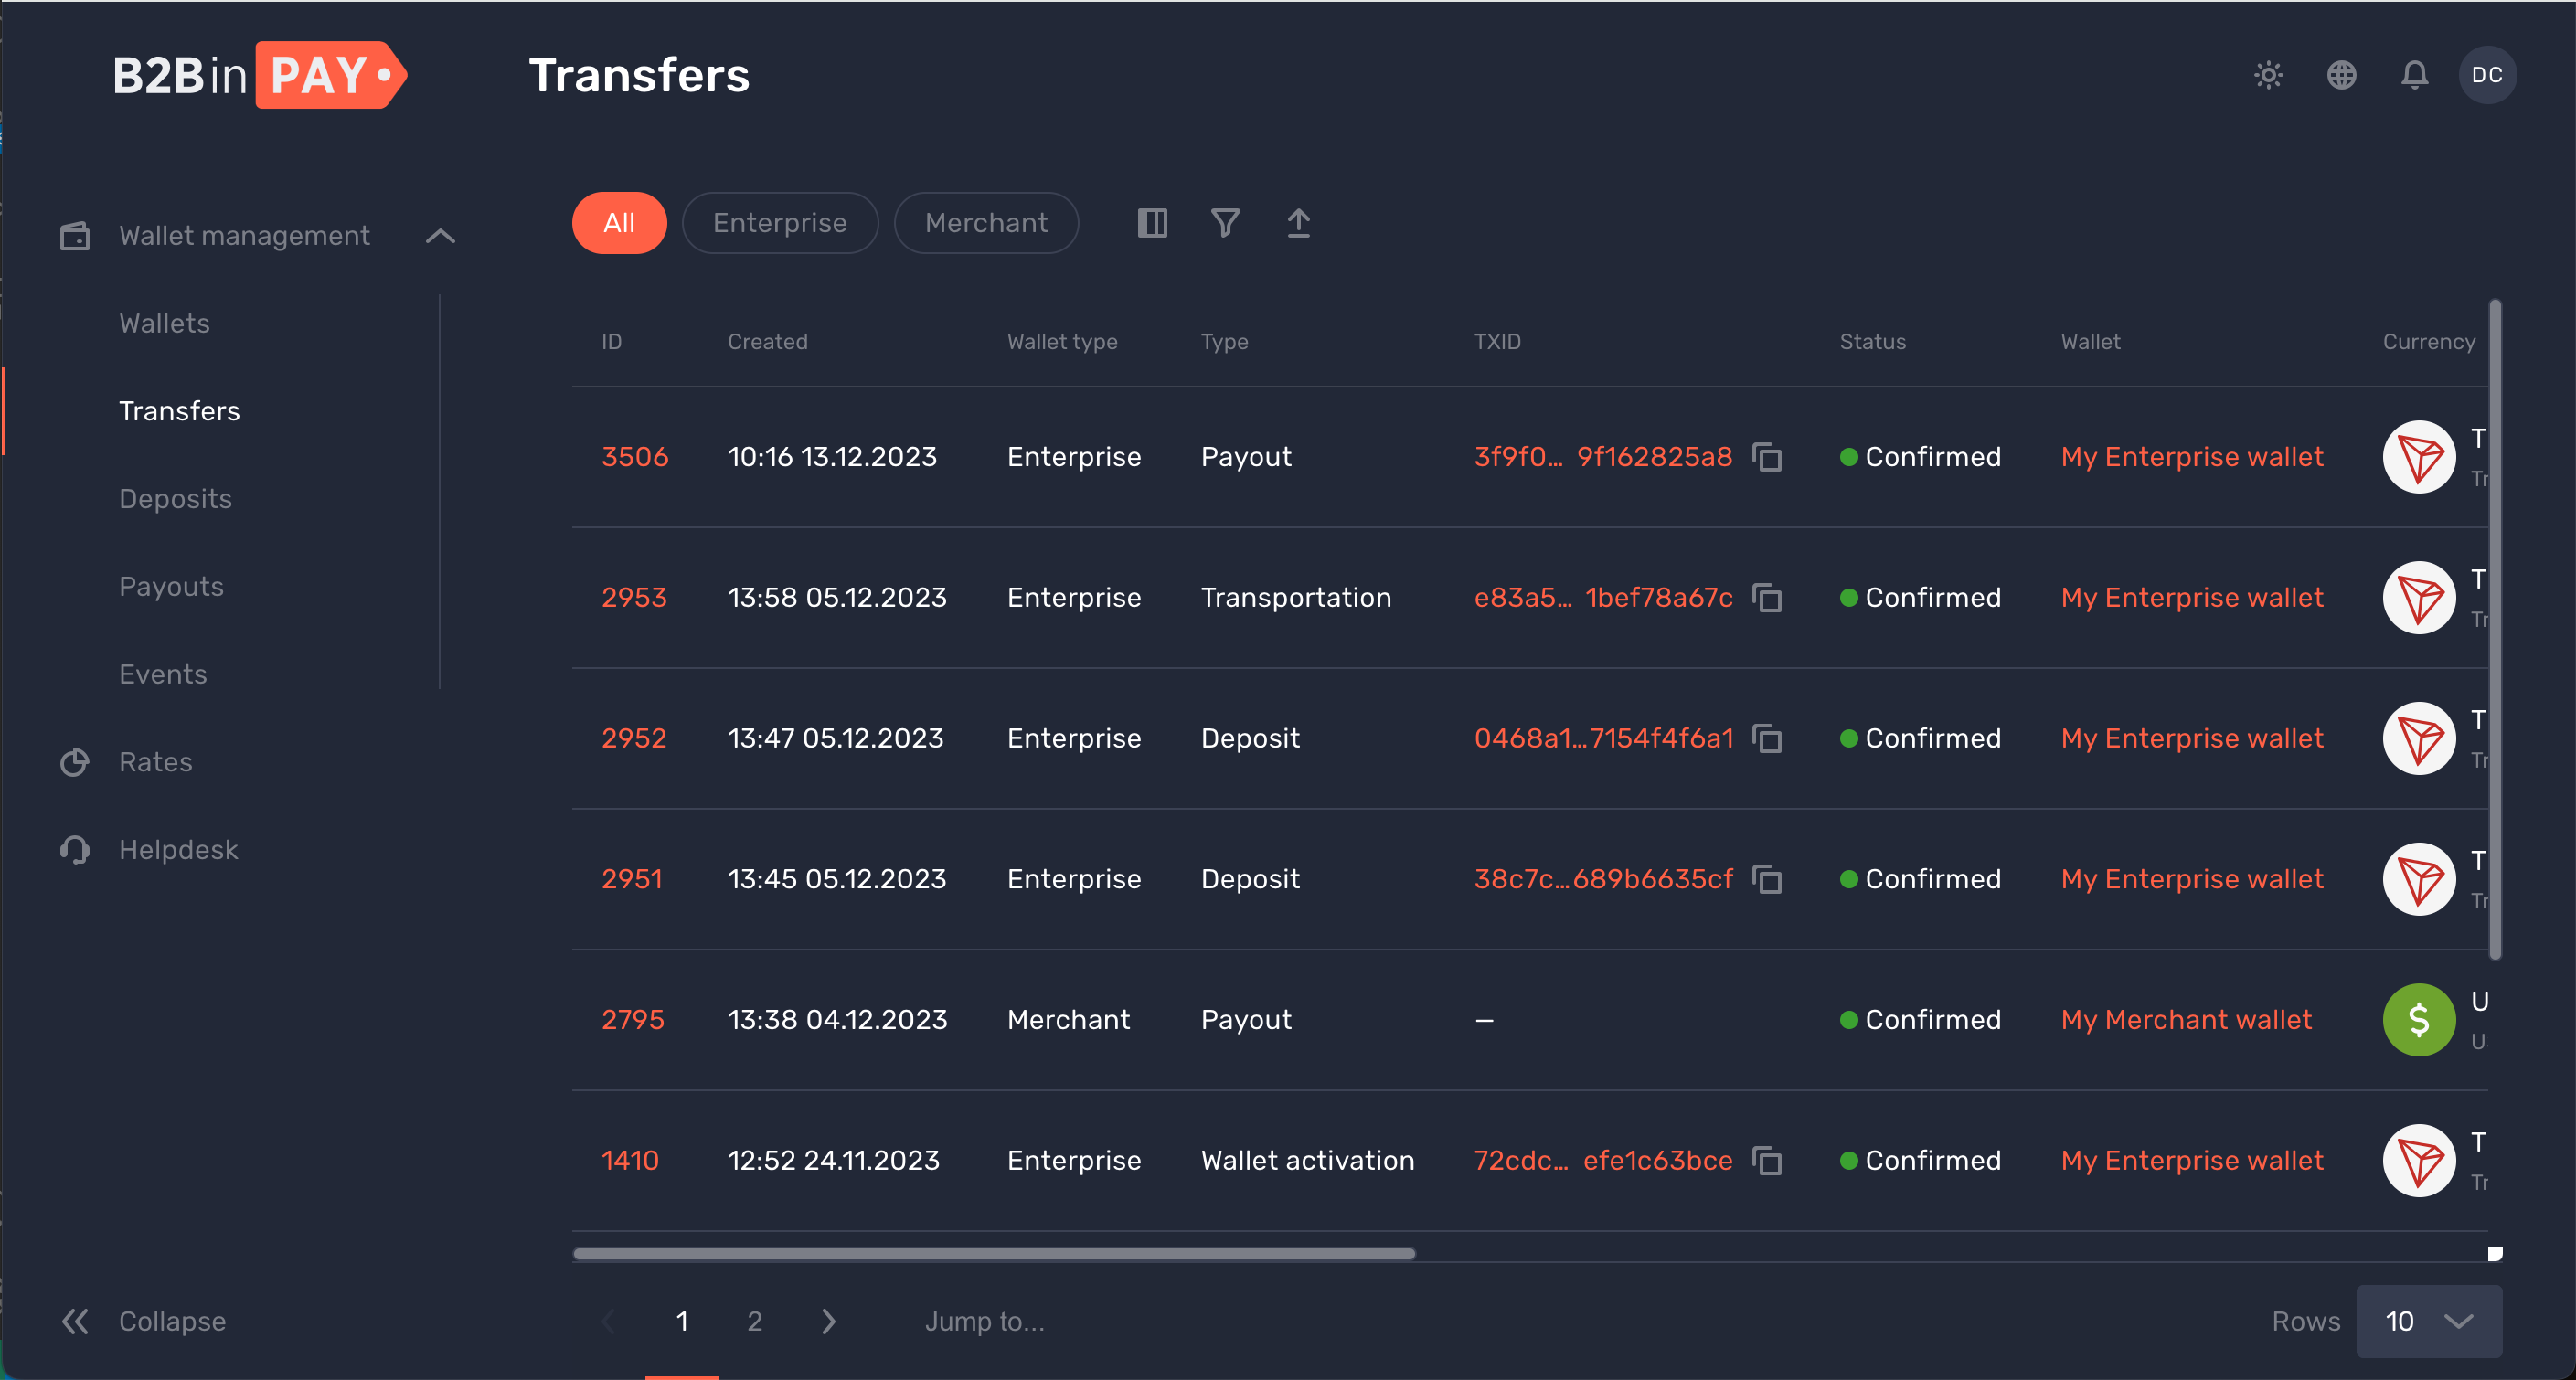
Sorting
Information in tables can be sorted by certain parameters.
By default, page data is sorted by creation date in descending order. You can sort the page data by other fields.
To find out whether you can sort table data by a particular field, hover over a corresponding column header. If sorting by this field is supported, you will see an arrow next to it indicating the available sorting options:
Arrow inactive — sorting by this field is disabled
Up arrow (active) — descending sorting by this field is enabled (you can click the arrow to enable ascending sorting)
Down arrow (active) — ascending sorting by this field is enabled (you can click the arrow to enable descending sorting)
Note
You can sort table data only by a single field at a time.
Filters
The funnel icon displayed on some pages indicates that you can specify custom search filters. You can click this icon to open a filter popup and enter desired values.
The set of available filtering parameters varies for different pages. The displayed input corresponds to a parameter type: it can be text, number, date, selector, and so on. Typically, two values are required for filtering by a time interval: the start date and the end date. You can enter these values manually or select them using the calendar tool.
To enable filtering, click the Apply button. To disable filtering, click Reset.

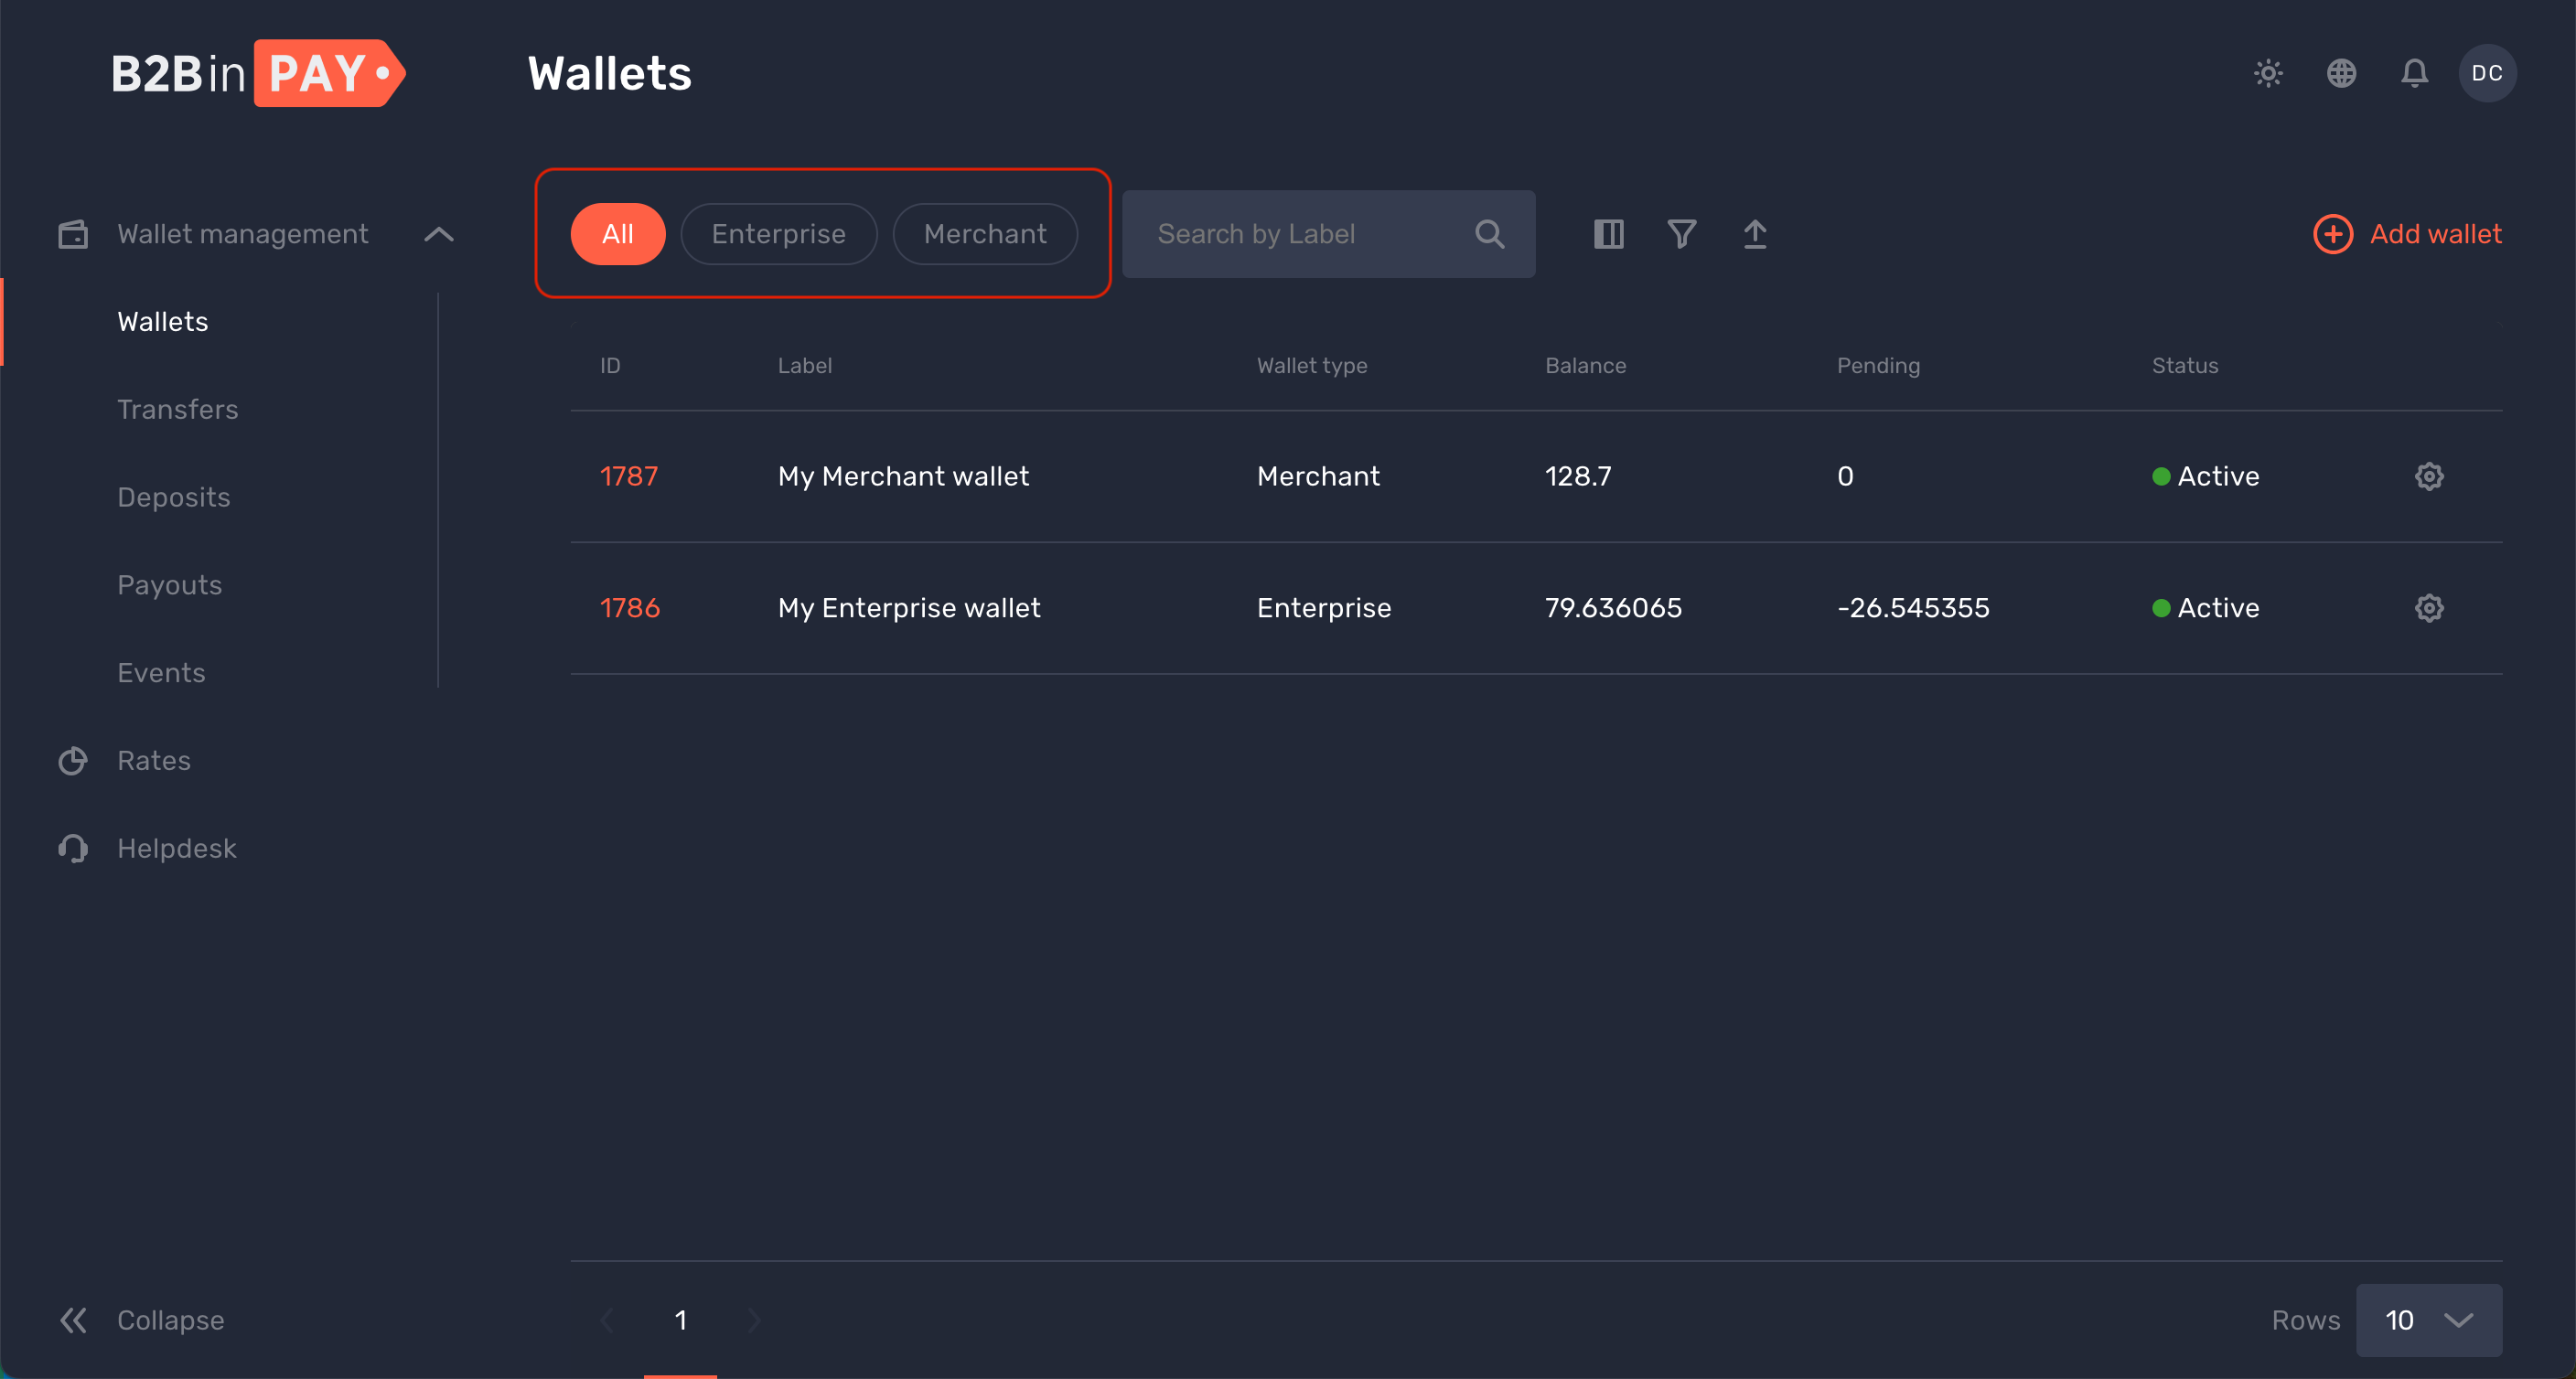
On some pages, you can choose among predefined quick filters to filter data by a specific parameter, such as a wallet or currency type. To enable these filters, use the corresponding buttons displayed above data tables.
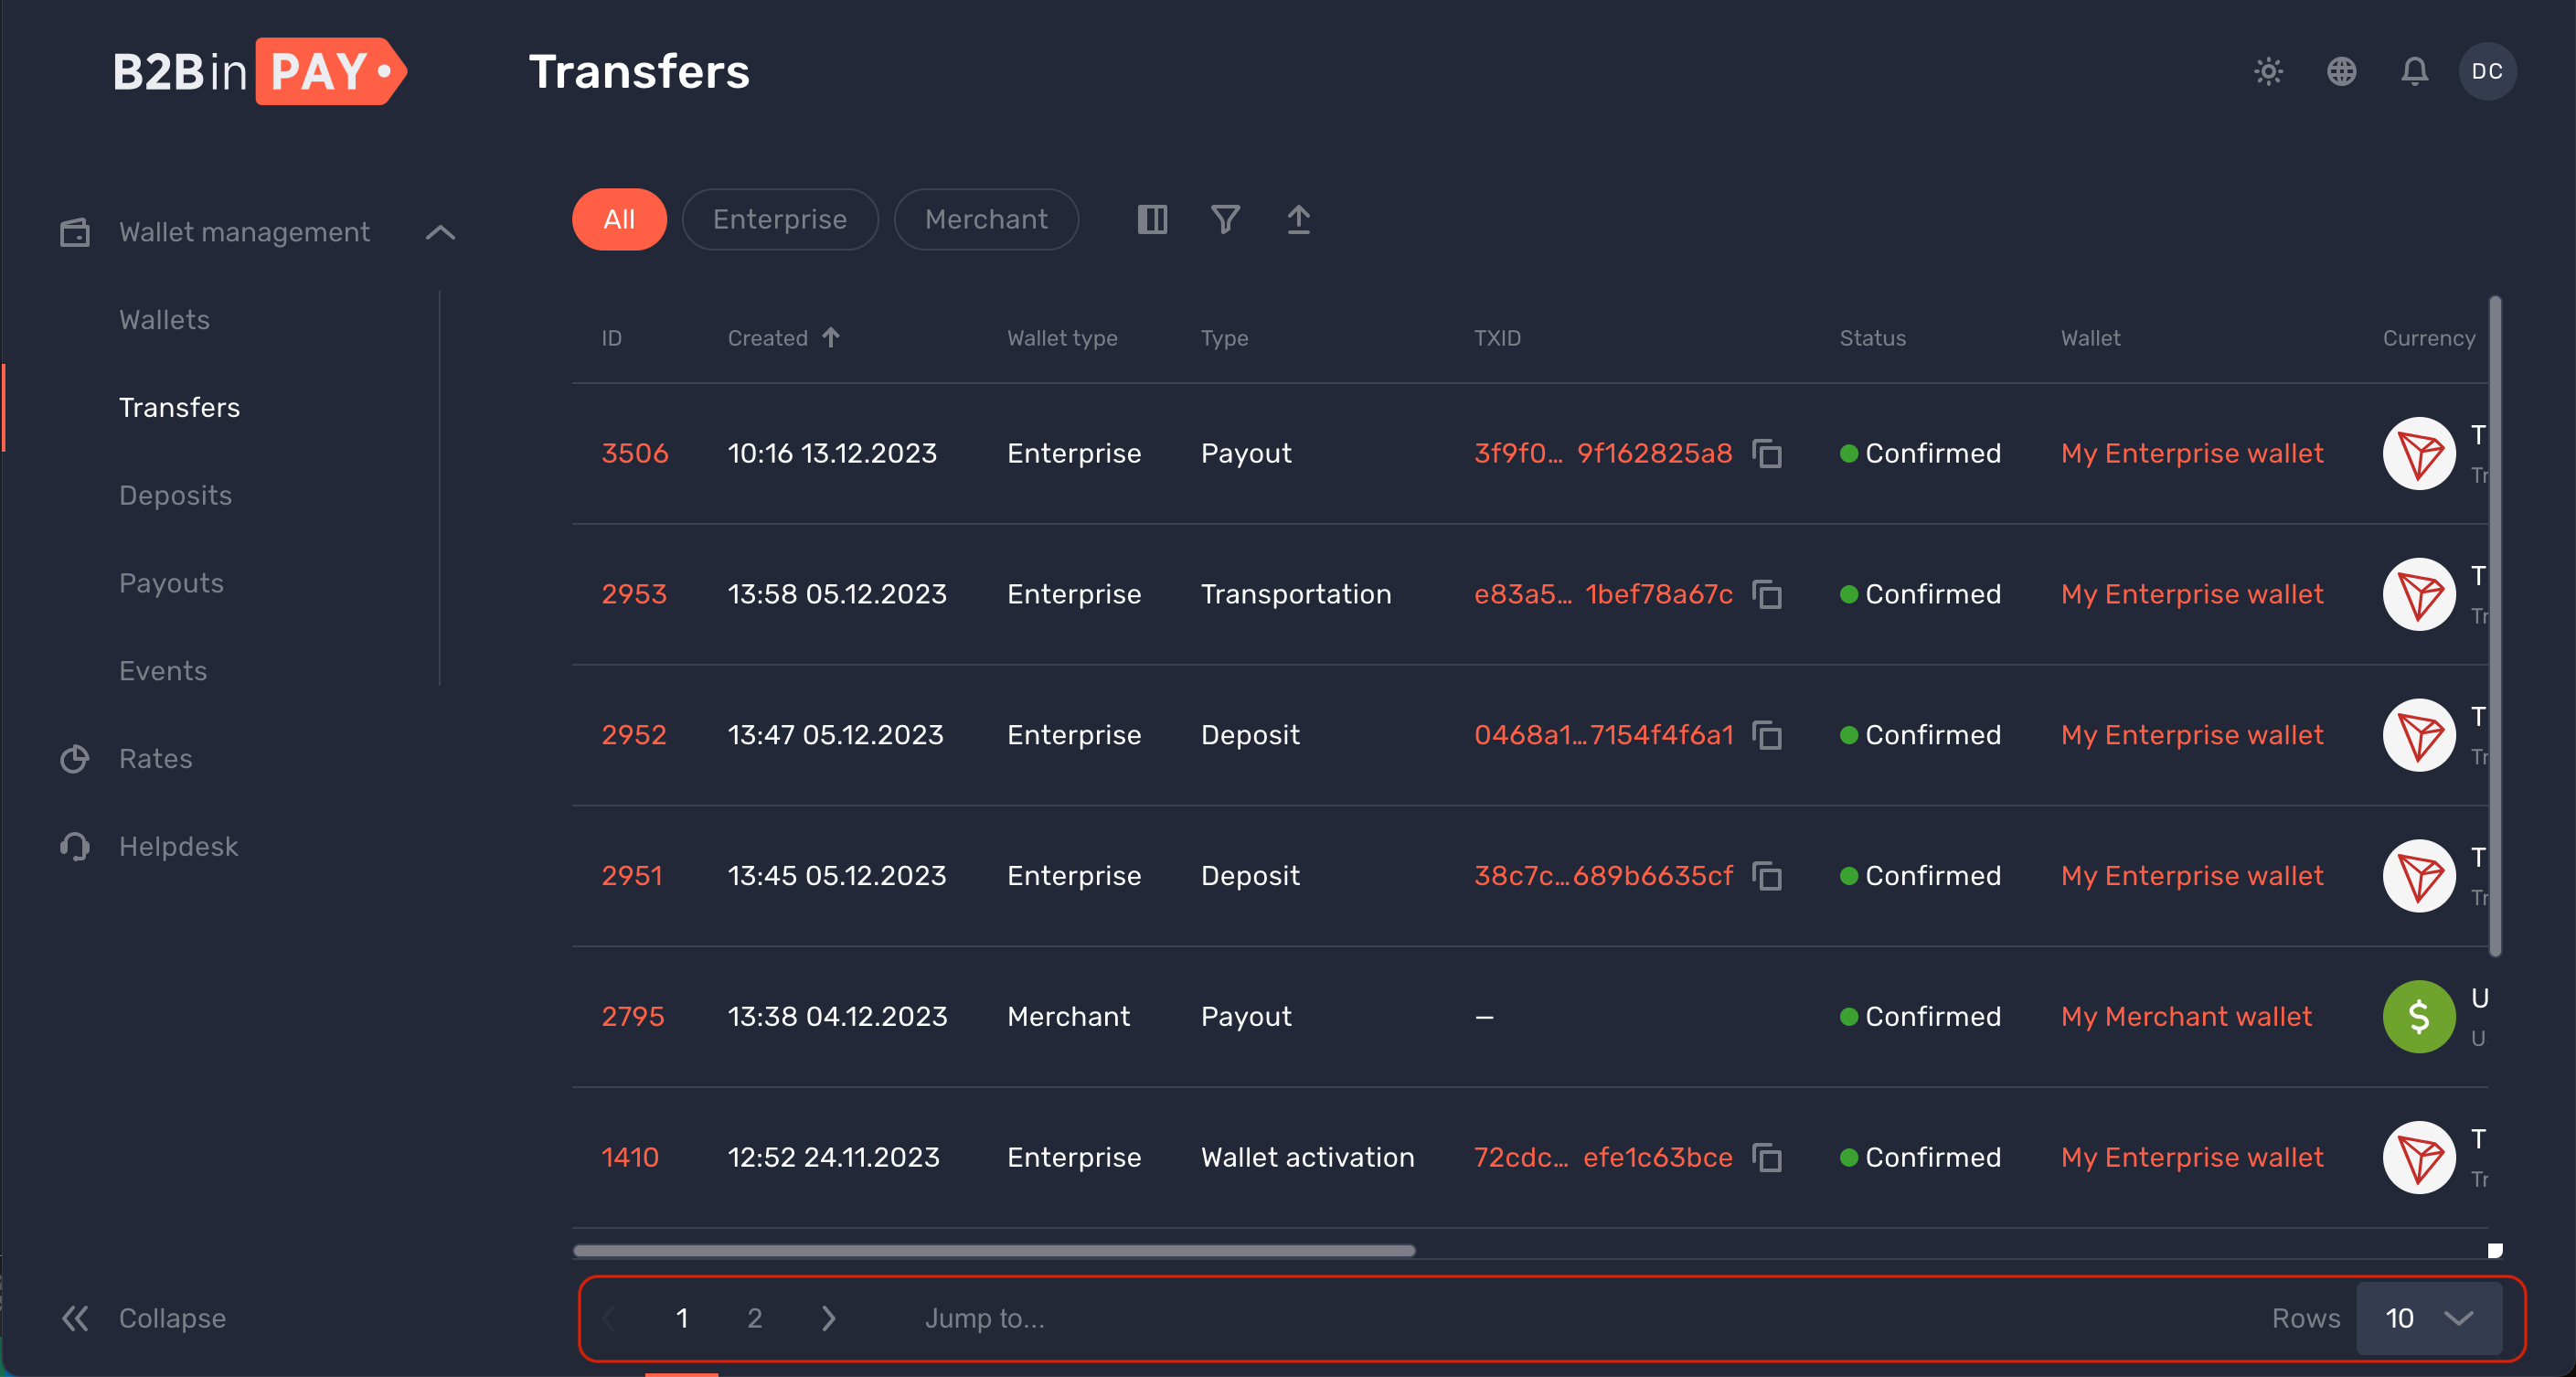
Pagination
Most of the pages support pagination and display data on multiple pages.
You can instantly Jump to a specific page or use the left and right arrows to switch to the previous or next page. You can also specify the number of rows displayed on each page.
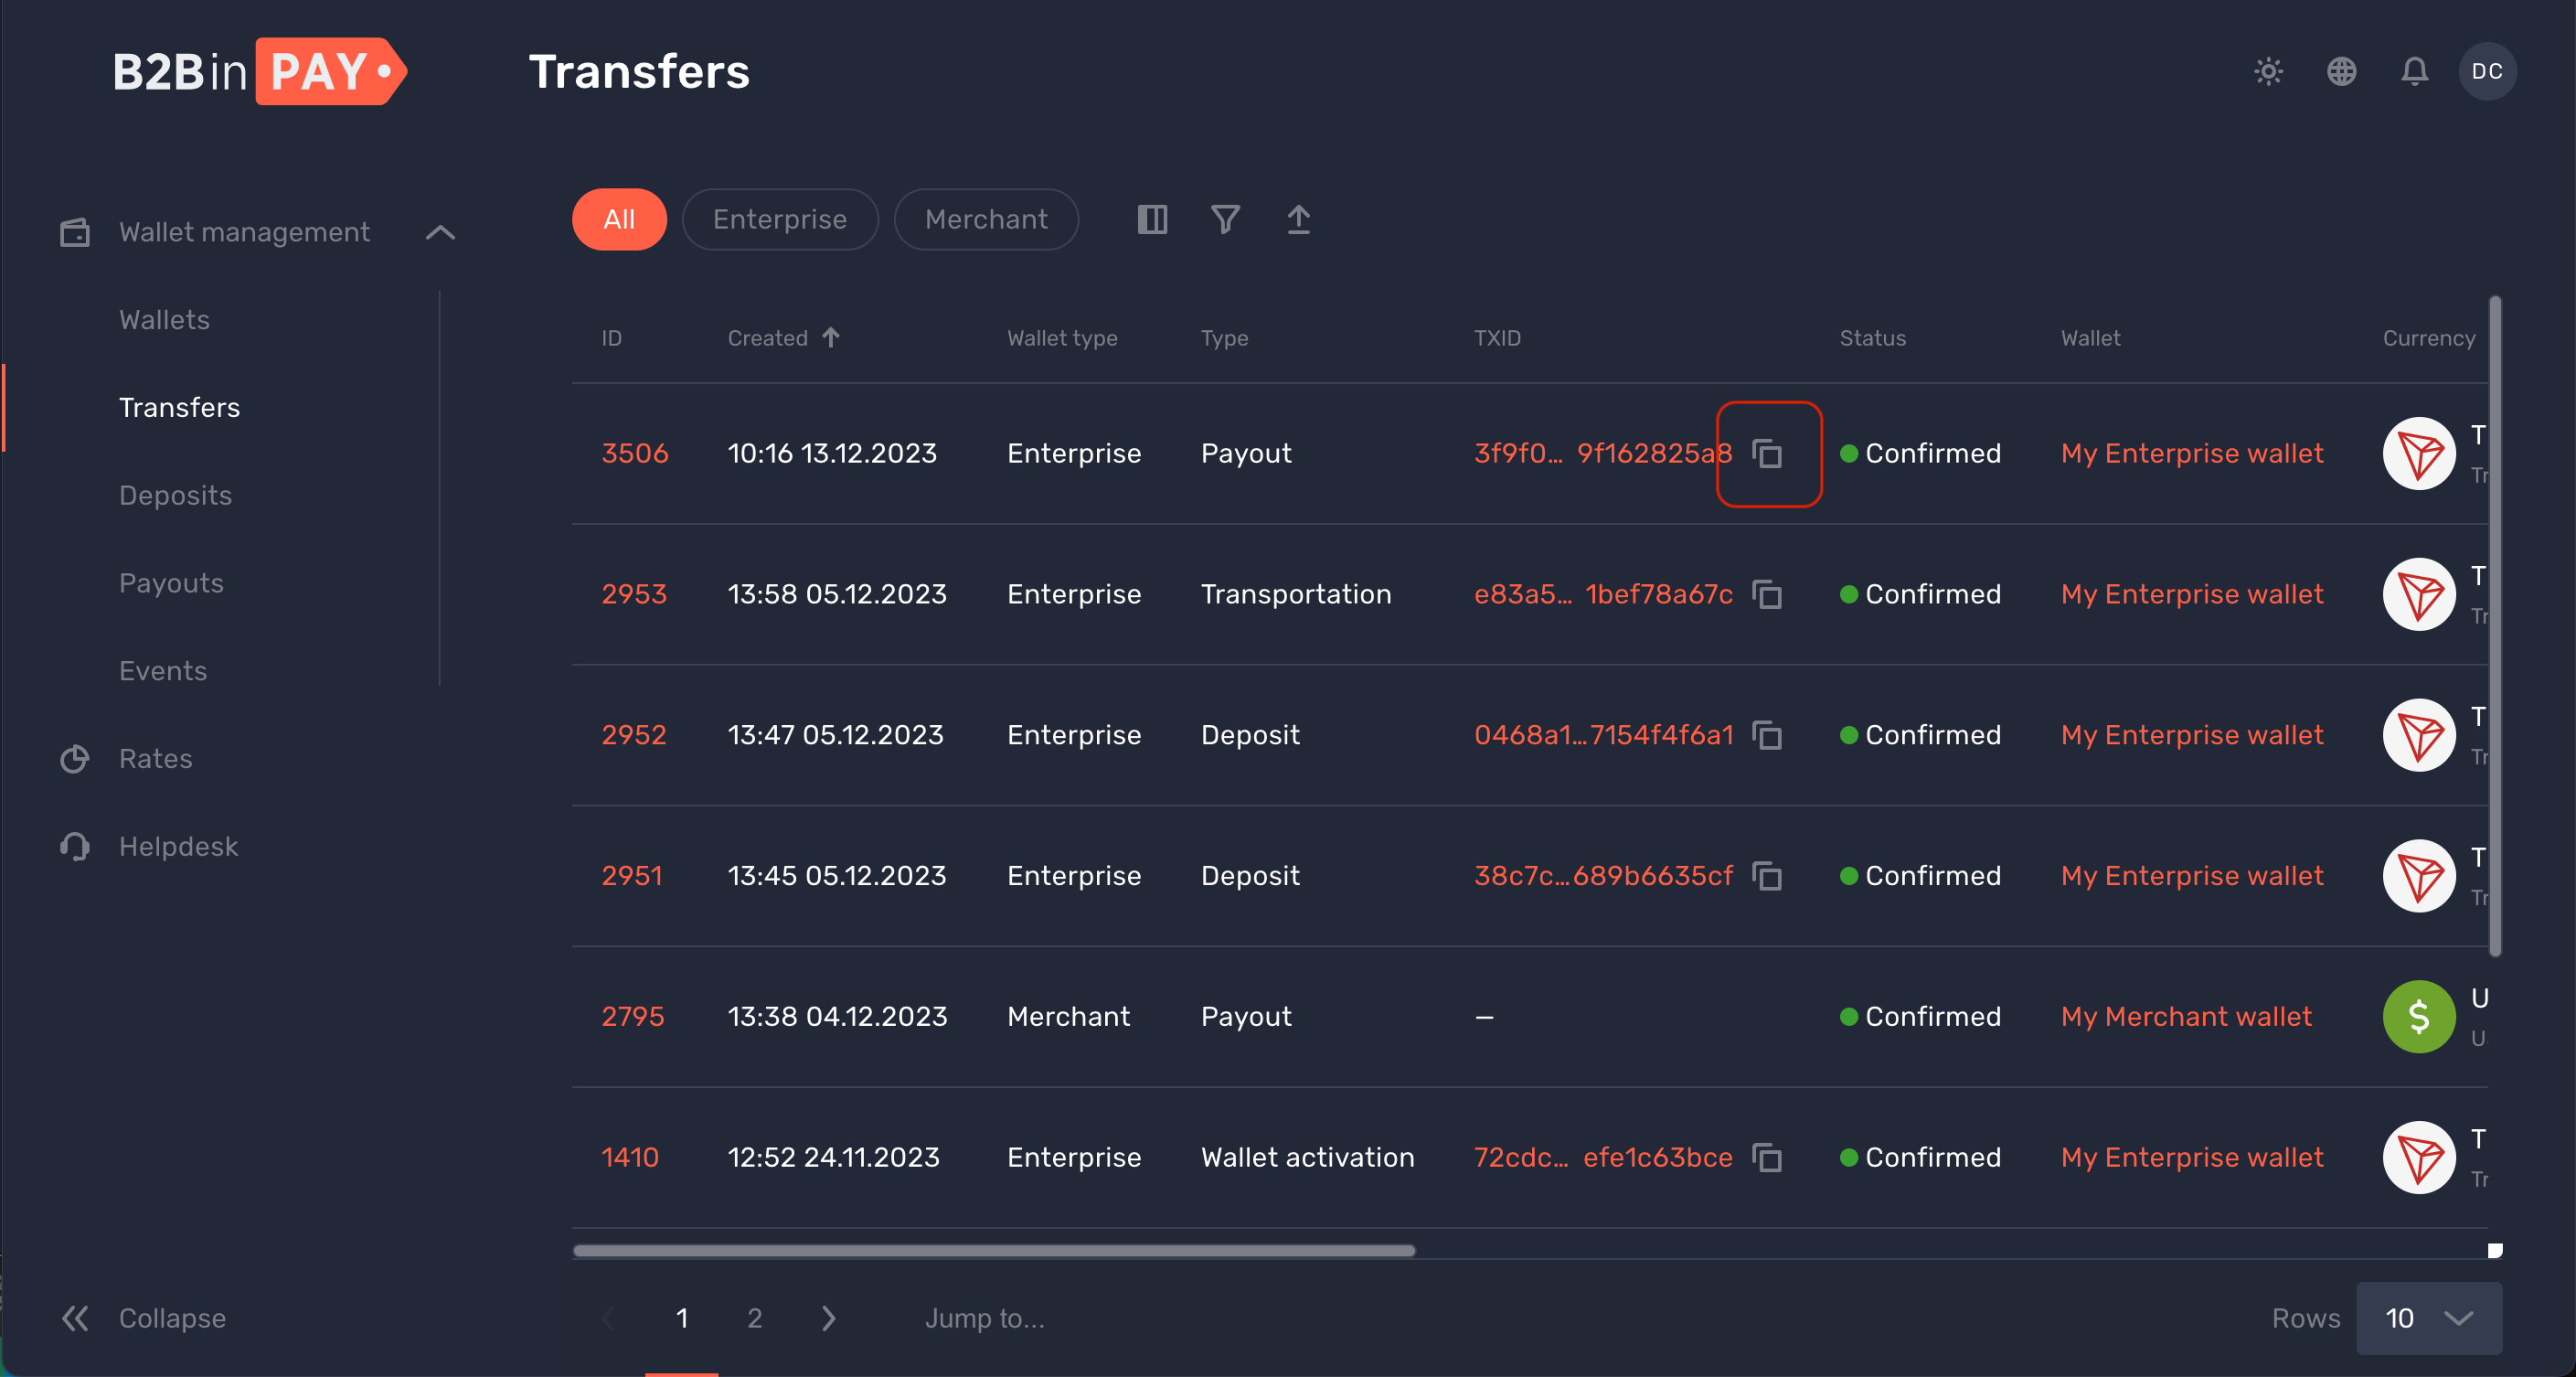
Copying values
On some pages, the option to copy certain values to the clipboard is provided.
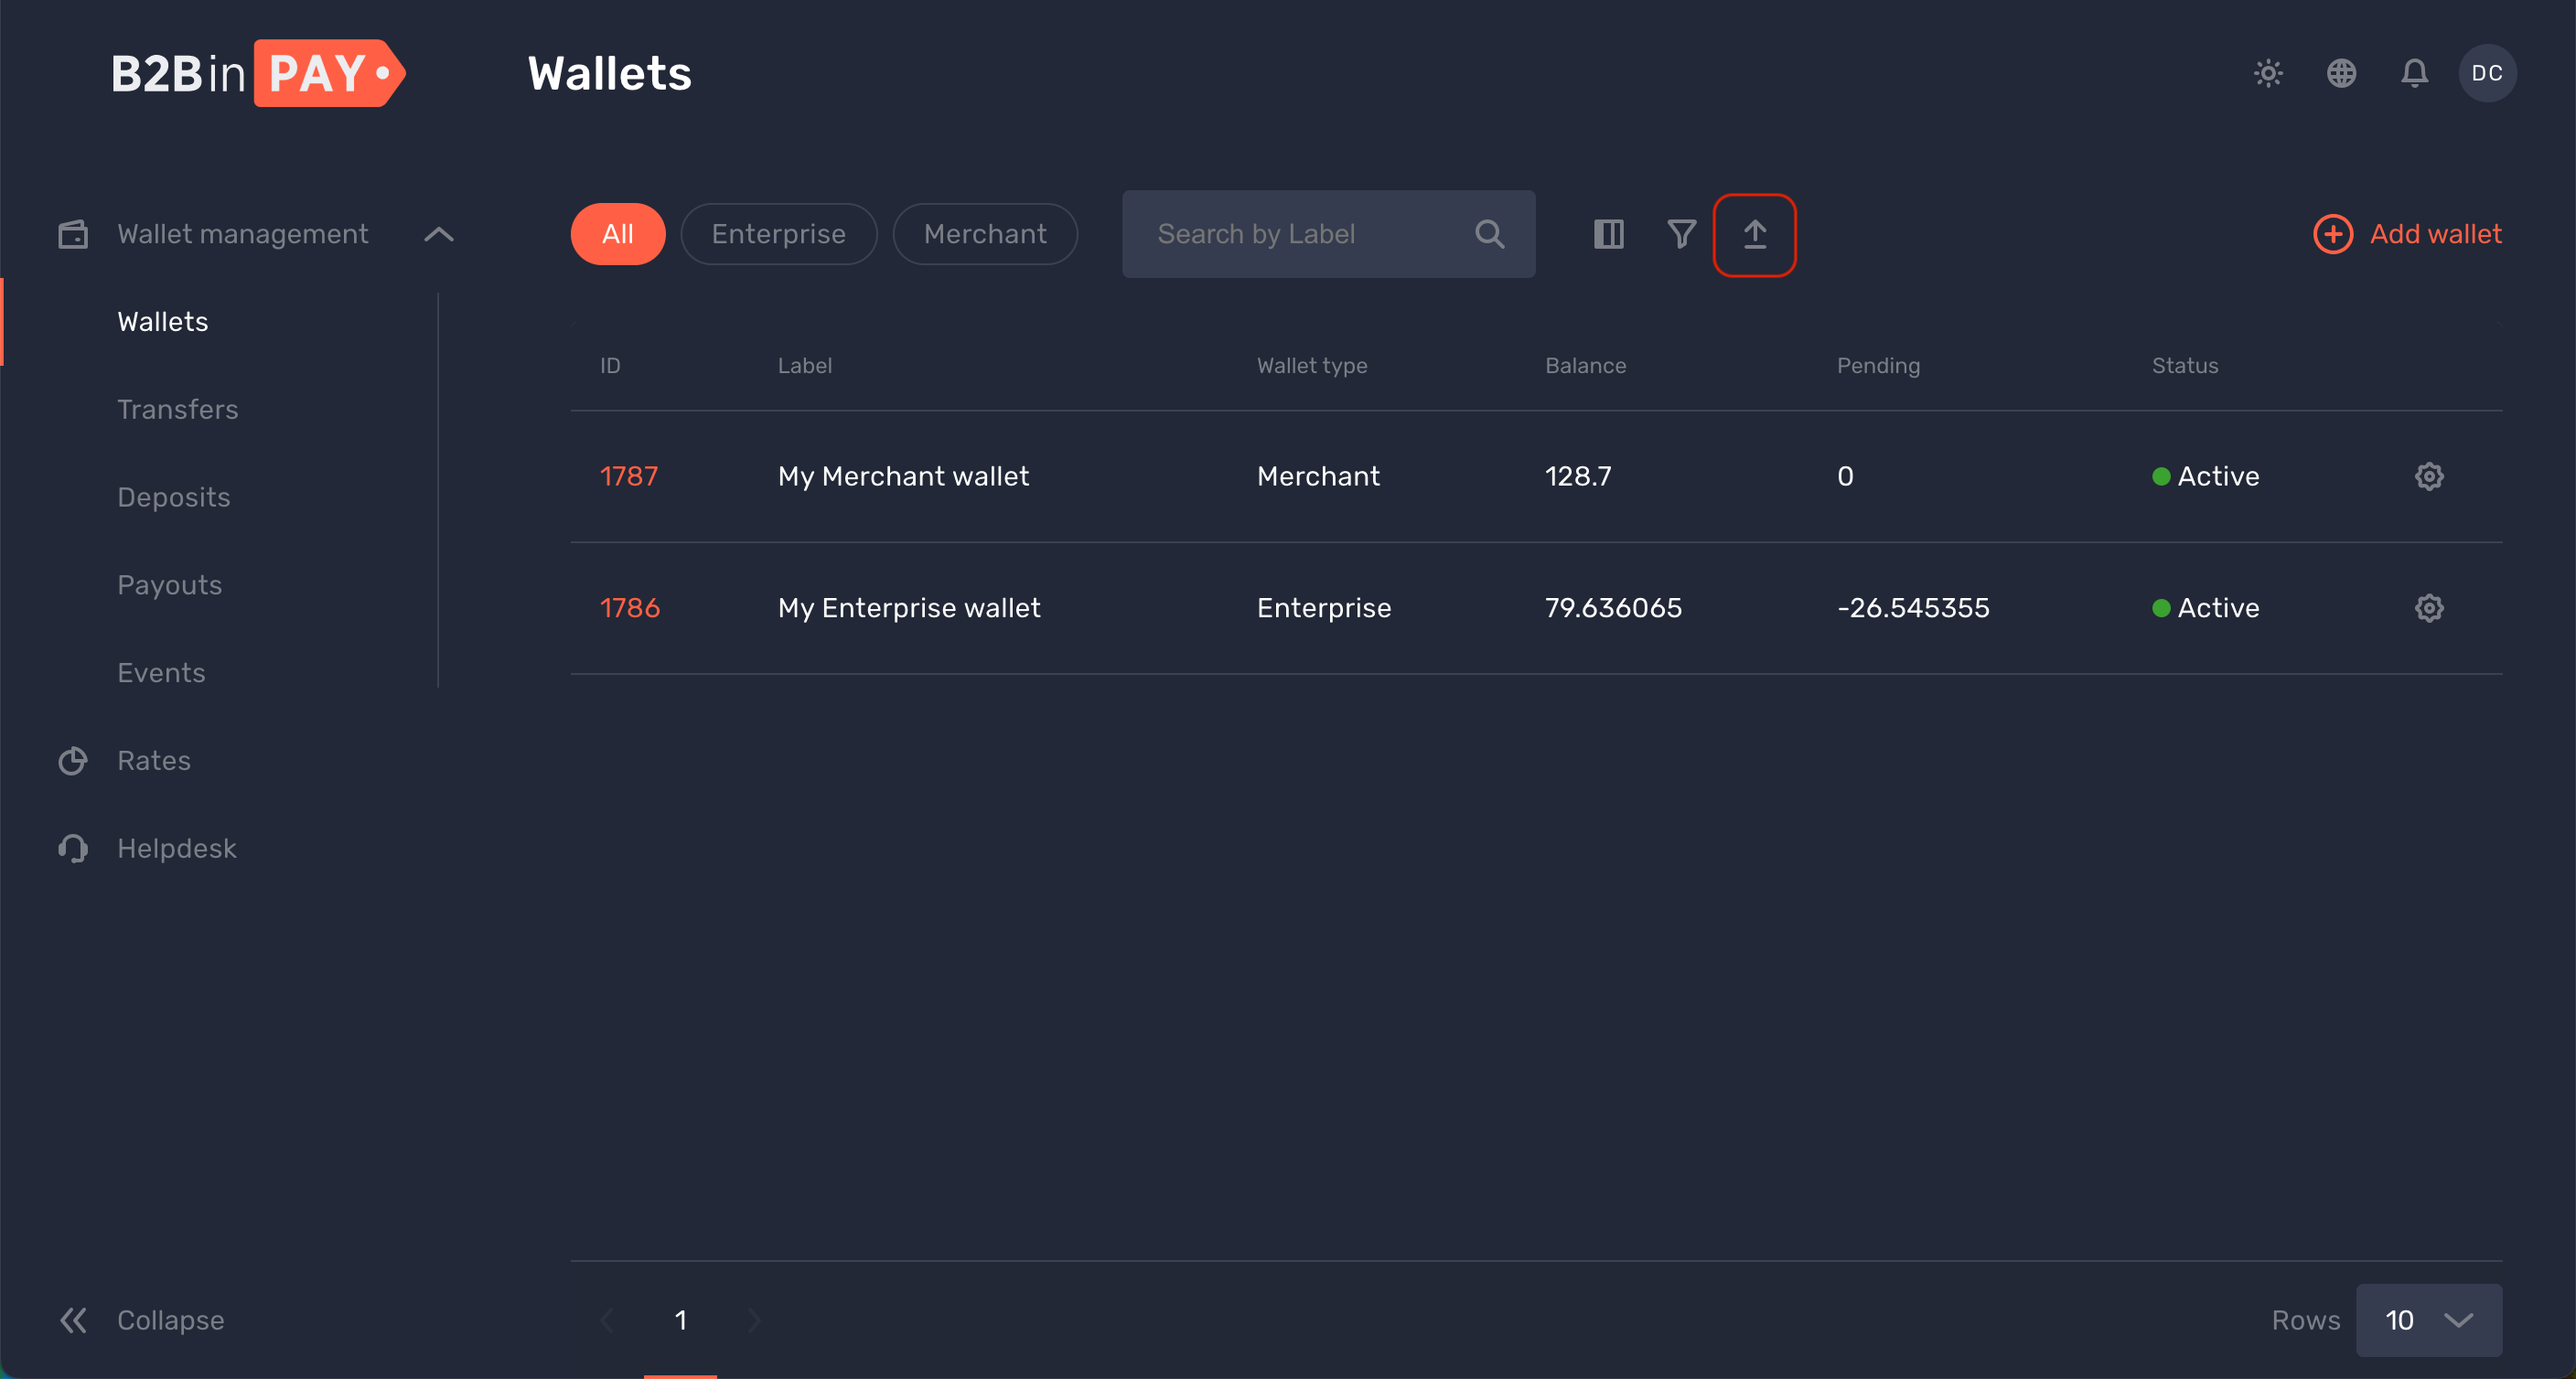
Export data
On some pages, the data export option is provided.
You can download the page data in the CSV or XLSX format. The exported file matches the filtering and sorting settings applied to the page.